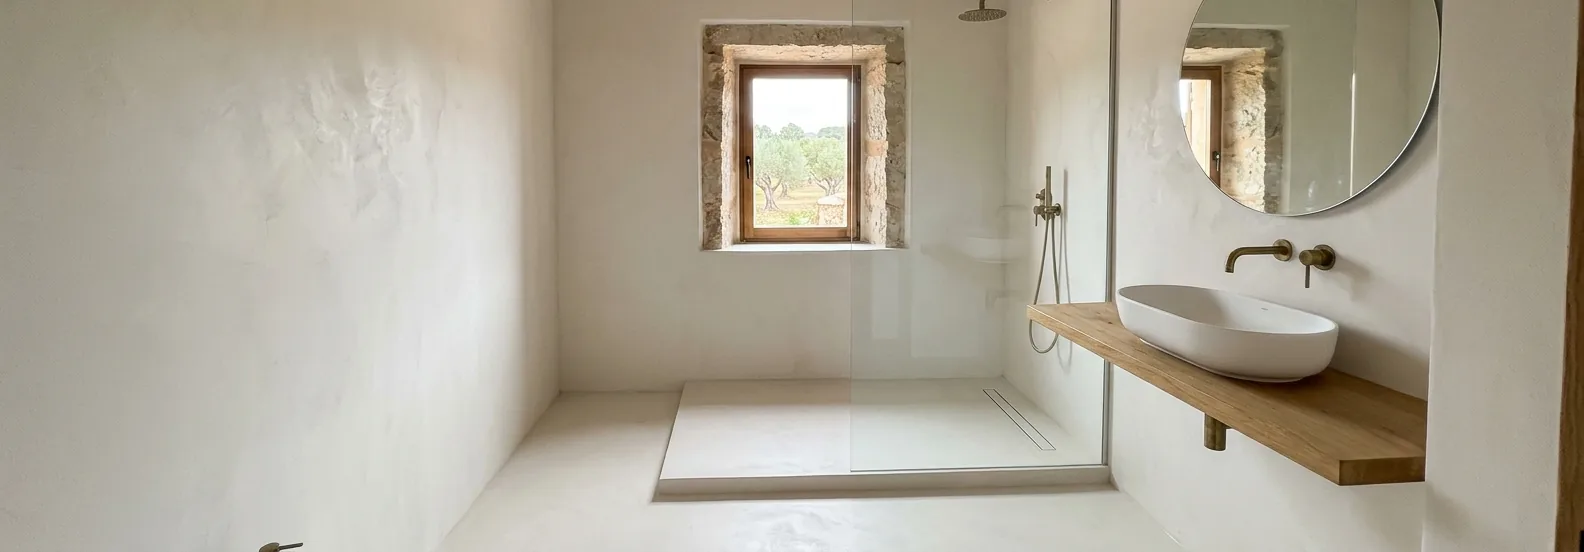
Microcement bathrooms in Mallorca
Renovating a bathroom with microcement over the existing tiles avoids breaking out, rubble removal and retiling. What separates a bathroom that lasts from one that stains within two years is what you cannot see: the waterproofing under the microcement in the shower, the treatment of the drain and the junctions with sanitaryware and shower screen.
The bathroom is where microcement is most requested, and also where we see the most failures in other people's work: dark stains at the base of the shower, tile joints showing through, sealer lifting around the drain. None of them comes from the material; they come from treating it as a thick paint rather than as a system. Here we explain how a microcement bathroom is done over tiles so that this does not happen.
Microcement over bathroom tiles
The existing tiles are a good substrate if they are firm. We tap them one by one; those that sound hollow are removed and the gap filled. The joints are levelled with a levelling paste until the surface is continuous, and the glaze is sanded to open it up. Then comes a bonding primer for non absorbent substrates. With the substrate prepared like this, the microcement does not know there are tiles underneath.
Floor standing sanitaryware, the toilet and the bidet, is taken off so the microcement can go underneath; a wall hung basin and the taps are protected and the microcement is finished against them. The shower screen is removed if it is fixed in place and refitted on the sealed microcement with neutral cure silicone, never acid cure, because acetic acid attacks the polyurethane.
The waterproofing goes underneath, not on top
This is the point that separates a well made bathroom from one that gives trouble. Sealed microcement repels water, but it is not a membrane: the mortar is cementitious and the polyurethane is a few tenths of a millimetre thick. In a shower, where water falls on the same spot for minutes every day, a micropore or a scuff is enough for moisture to reach the mortar and leave the dark stain that does not go away.
That is why in the shower area, floor and walls up to at least two metres, we apply a flexible cementitious waterproofing mortar before the microcement, in two coats, with elastic tape at the corners, at the junction between floor and wall and around the drain. The primer and the microcement go on top of that layer. If water ever gets through the sealer, it stops at the waterproofing and does not reach the slab or the neighbour below. In the rest of the bathroom, outside the shower, this layer is not needed.
The shower tray and the drain
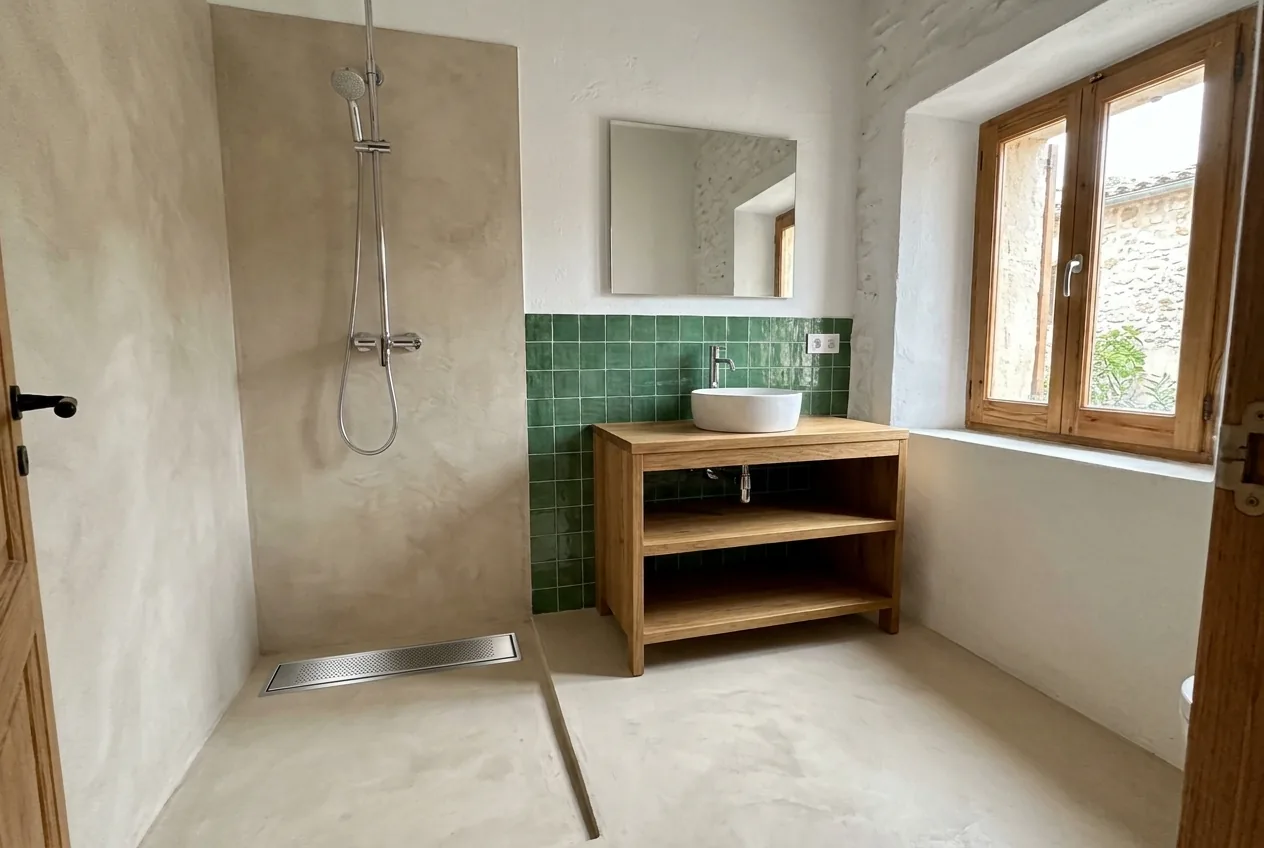
A microcement shower tray is built in place, with a 2 percent fall towards the drain. If the bathroom already has a tiled built-in tray, it is kept; if it has a ceramic or resin tray, the usual approach is to remove it and form the new one in mortar. The drain is the most delicate point: the microcement and the waterproofing have to finish against the drain flange, which must be a model with a flange made for membranes. An old drain without a flange is the most common cause of sealer lifting around the drain.
A linear drain, against the wall or across the front of the shower, is the one that works best with microcement: the fall runs in a single direction, the floor stays flatter and there is only one junction to protect. On the floor of the shower the sealer carries anti-slip aggregate; wet and soapy, smooth microcement is slippery.
Walls: how high to go
Bathroom walls can take microcement up to the ceiling or to a set height, finished with a profile or with a clean line and paint above. In the shower we recommend going up to the ceiling or at least to two metres, because of splashes and steam. Outside the shower, the height is an aesthetic choice. Corners can be left sharp or rounded; rounded ones are easier to clean and are the usual choice in built-in trays.
Bathroom floor and junctions
The bathroom floor outside the shower is treated like any microcement floor: joint levelling, mesh, four coats and sealing. The junctions with the base of the toilet, the basin pedestal and the door frame are finished with neutral cure silicone in the colour of the microcement once it has been sealed. The door rarely needs trimming: the system adds about 3 mm.
Colours for a microcement bathroom
Mallorca's hard water leaves a white film of limescale that shows clearly on dark tones, especially inside the shower. Off-white, sand, pearl grey or taupe make a small bathroom feel larger and hide limescale and soap; anthracite or cement grey look better on the basin wall or a built-in unit than in the shower tray. In the shower tray, a matt or satin finish with aggregate, never gloss. The families and finishes are covered in microcement colours and finishes.
Timescale for a microcement bathroom
A complete bathroom, floor and walls, usually takes five to eight calendar days: one or two for preparation and waterproofing, three or four for the microcement with its drying times, one for sealing, and then the curing days. You can walk in with clean footwear 48 hours after sealing. The first shower comes after 7 days, when the polyurethane has reached its hardness.
Maintenance of a microcement bathroom
pH neutral soap and water; no limescale remover, bleach or ammonia. Mallorca's water is hard and leaves a white film on the sealer: remove it with a damp cloth after showering, or with a squeegee on the screen and walls, and not with acid products. Ventilating after a shower prevents mould in the corners, which cleans off microcement but stains it if left for weeks. And check the shower tray every two or three years: when water stops running off and darkens the surface, it is time to renew the sealer, a one day job.
Solera Mallorca
How we work
- 01
Visit
We tap the tiles and look at the drain, the fall of the shower tray and whether there is damp behind.
- 02
Preparation
We remove sanitaryware if needed, fix loose tiles, level the joints and prime.
- 03
Waterproofing
In the shower area, two coats of waterproofing mortar with tape at corners and drain.
- 04
Microcement
Mesh, base and finish coats on floor and walls, sanded between coats.
- 05
Sealing
Sealing primer and two coats of polyurethane, with aggregate in the shower tray.
- 06
Handover
Sanitaryware and screen refitted, when to use it and which cleaning products.
FAQ
Questions
Something else? Ask us when you request a quote.
Is microcement suitable for a bathroom?
Yes, provided it is applied as a system: cementitious waterproofing underneath in the shower area, a drain with a flange made for membranes, a polyurethane sealer in two coats and neutral cure silicone at the junctions. Applied as a decorative layer without that base, the bathroom develops stains within a few years.
Can microcement be applied over bathroom tiles without removing them?
Yes, if the tiles are well bonded. Hollow tiles are removed and the gaps filled, the joints are levelled with a levelling paste and a bonding primer is applied before the microcement. The system adds about 3 mm and does not mean trimming the door.
How long does microcement last in a bathroom?
The mortar lasts as long as the substrate. The sealer on the shower tray, the area that gets most use, usually needs renewing every 3 to 5 years; in the rest of the bathroom, considerably longer. Renewing it means light sanding and two new coats of polyurethane, in one day of work.
How is microcement applied in a bathroom?
Tile preparation, cementitious waterproofing in the shower, primer, mesh, two coats of base microcement and two finish coats sanded in between, and sealing with a primer and two coats of polyurethane. A complete bathroom takes five to eight days, and the first shower is taken 7 days after sealing.
How do you remove limescale from a microcement bathroom?
With a damp cloth or a squeegee after each shower, and neutral soap for the weekly clean. Never with limescale remover, vinegar or lemon, because acids attack the polyurethane and open the way to stains. Good ventilation reduces both limescale and mould.
How much does a microcement bathroom cost?
It depends on the state of the tiles, on whether the built-in shower tray is kept or a new one is formed, on the waterproofing of the shower, on the square metres of wall compared with floor and on the sanitaryware that has to be taken off. Two bathrooms of the same size can have very different quotes. With photos, the floor and wall areas and the type of shower, we send you an itemised quote; what moves the price is explained in microcement cost.
How long does it take to do a microcement bathroom?
A complete bathroom, floor and walls, takes five to eight calendar days: preparation and waterproofing, four coats of microcement with their drying times, sealing and curing. You can walk in with clean footwear 48 hours after sealing, and the first shower is taken after 7 days.
Guides
Related guides
Microcement or tiles: which suits each case
Microcement versus tiles in bathrooms, kitchens, floors and outdoors: looks, building work, thickness, showers, wear, maintenance, repairs and cost.
How to clean and care for microcement
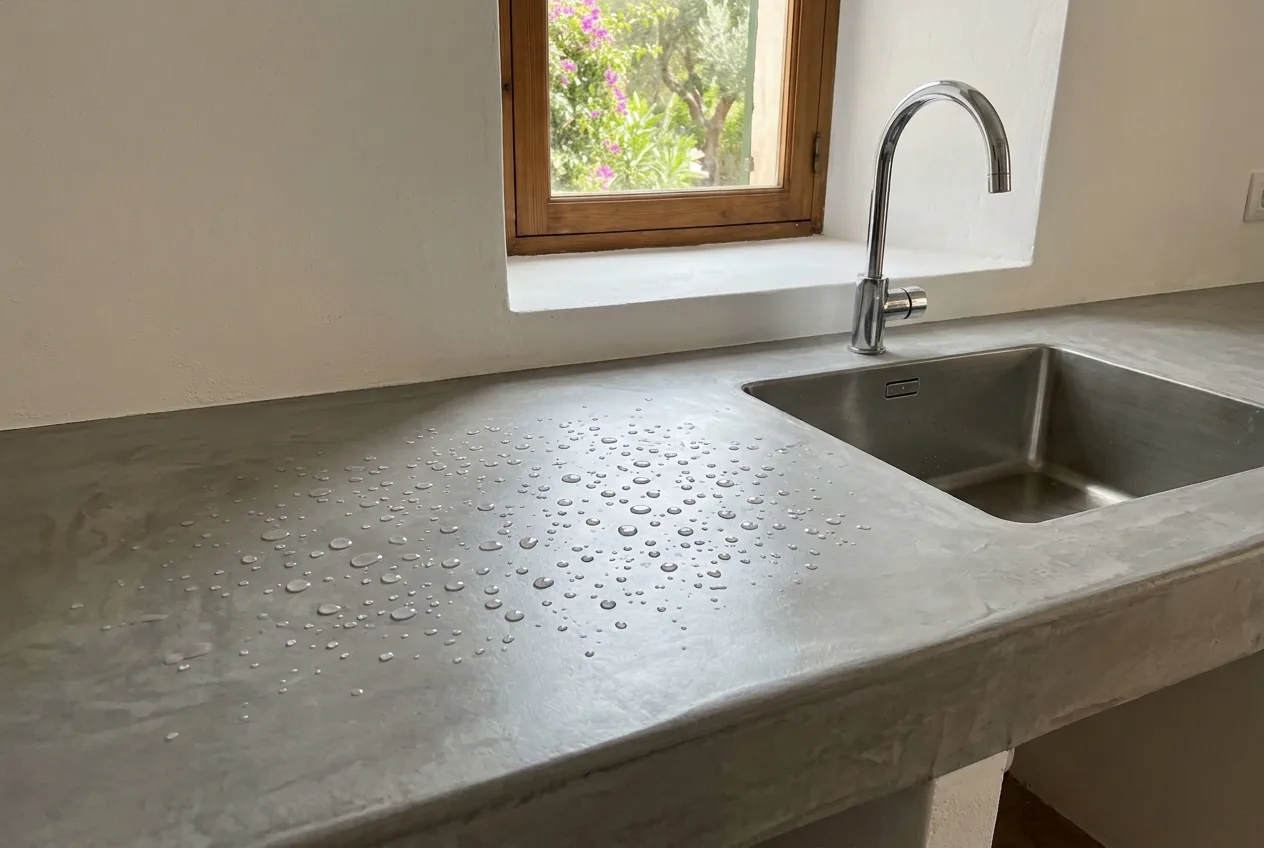
Everyday cleaning of microcement, products that damage the sealer, limescale and stains, kitchens and outdoors, the water test and how often the sealer is renewed.
Solera Mallorca
Tell us about your bathroom
A few photos of the bathroom, the square metres of floor and wall and whether the shower is built in or has a tray are enough for us to advise on timing and system.